- Shop All
- BRANDS
- 3D Printing
3D Printing Materials
All 3D Printing Parts/Accessories
- 3D Scanning
All 3D Scanners

3D Scanner By Type
3D Scanner Parts/Accessories
- SOFTWARE
- Other Tech
3D FORMERS

WELDING
BCN3D Slicing Guide – Layer Height

Here we wanted to provide you with all the best tips and guidance from BCN3D regarding how to prepare your models for printing.
If you have any queries please also feel free to ask us 🙂
Section 1: All the ways in which layer height affects your print
What is Layer height?
The Layer height represents the exact thickness of each horizontal layer of your print. It’s the most relevant setting, as it’s heavily related to the additive manufacturing process present in all FDM 3D printers.
This setting has many effects on the 3D printing process, including:
- Surface finish
- Print time
- Mechanical properties
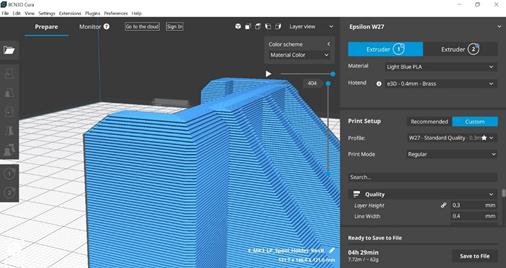
Common Layer height options
Taking as reference the standard 0.4mm nozzle diameter, we can say there are three main print quality options:
- High Quality (0.1mm): Used on high fidelity prototypes and models with small details.
- Standard Quality (0.15mm): This layer height offers a standard quality, combining good surface finish and mechanical properties.
- Draft Quality (0.2mm): Recommended for initial prototypes and simple models.
Other layer height options are available with the standard 0.4mm nozzle. For example, you could use layer heights of up to 0.32mm.
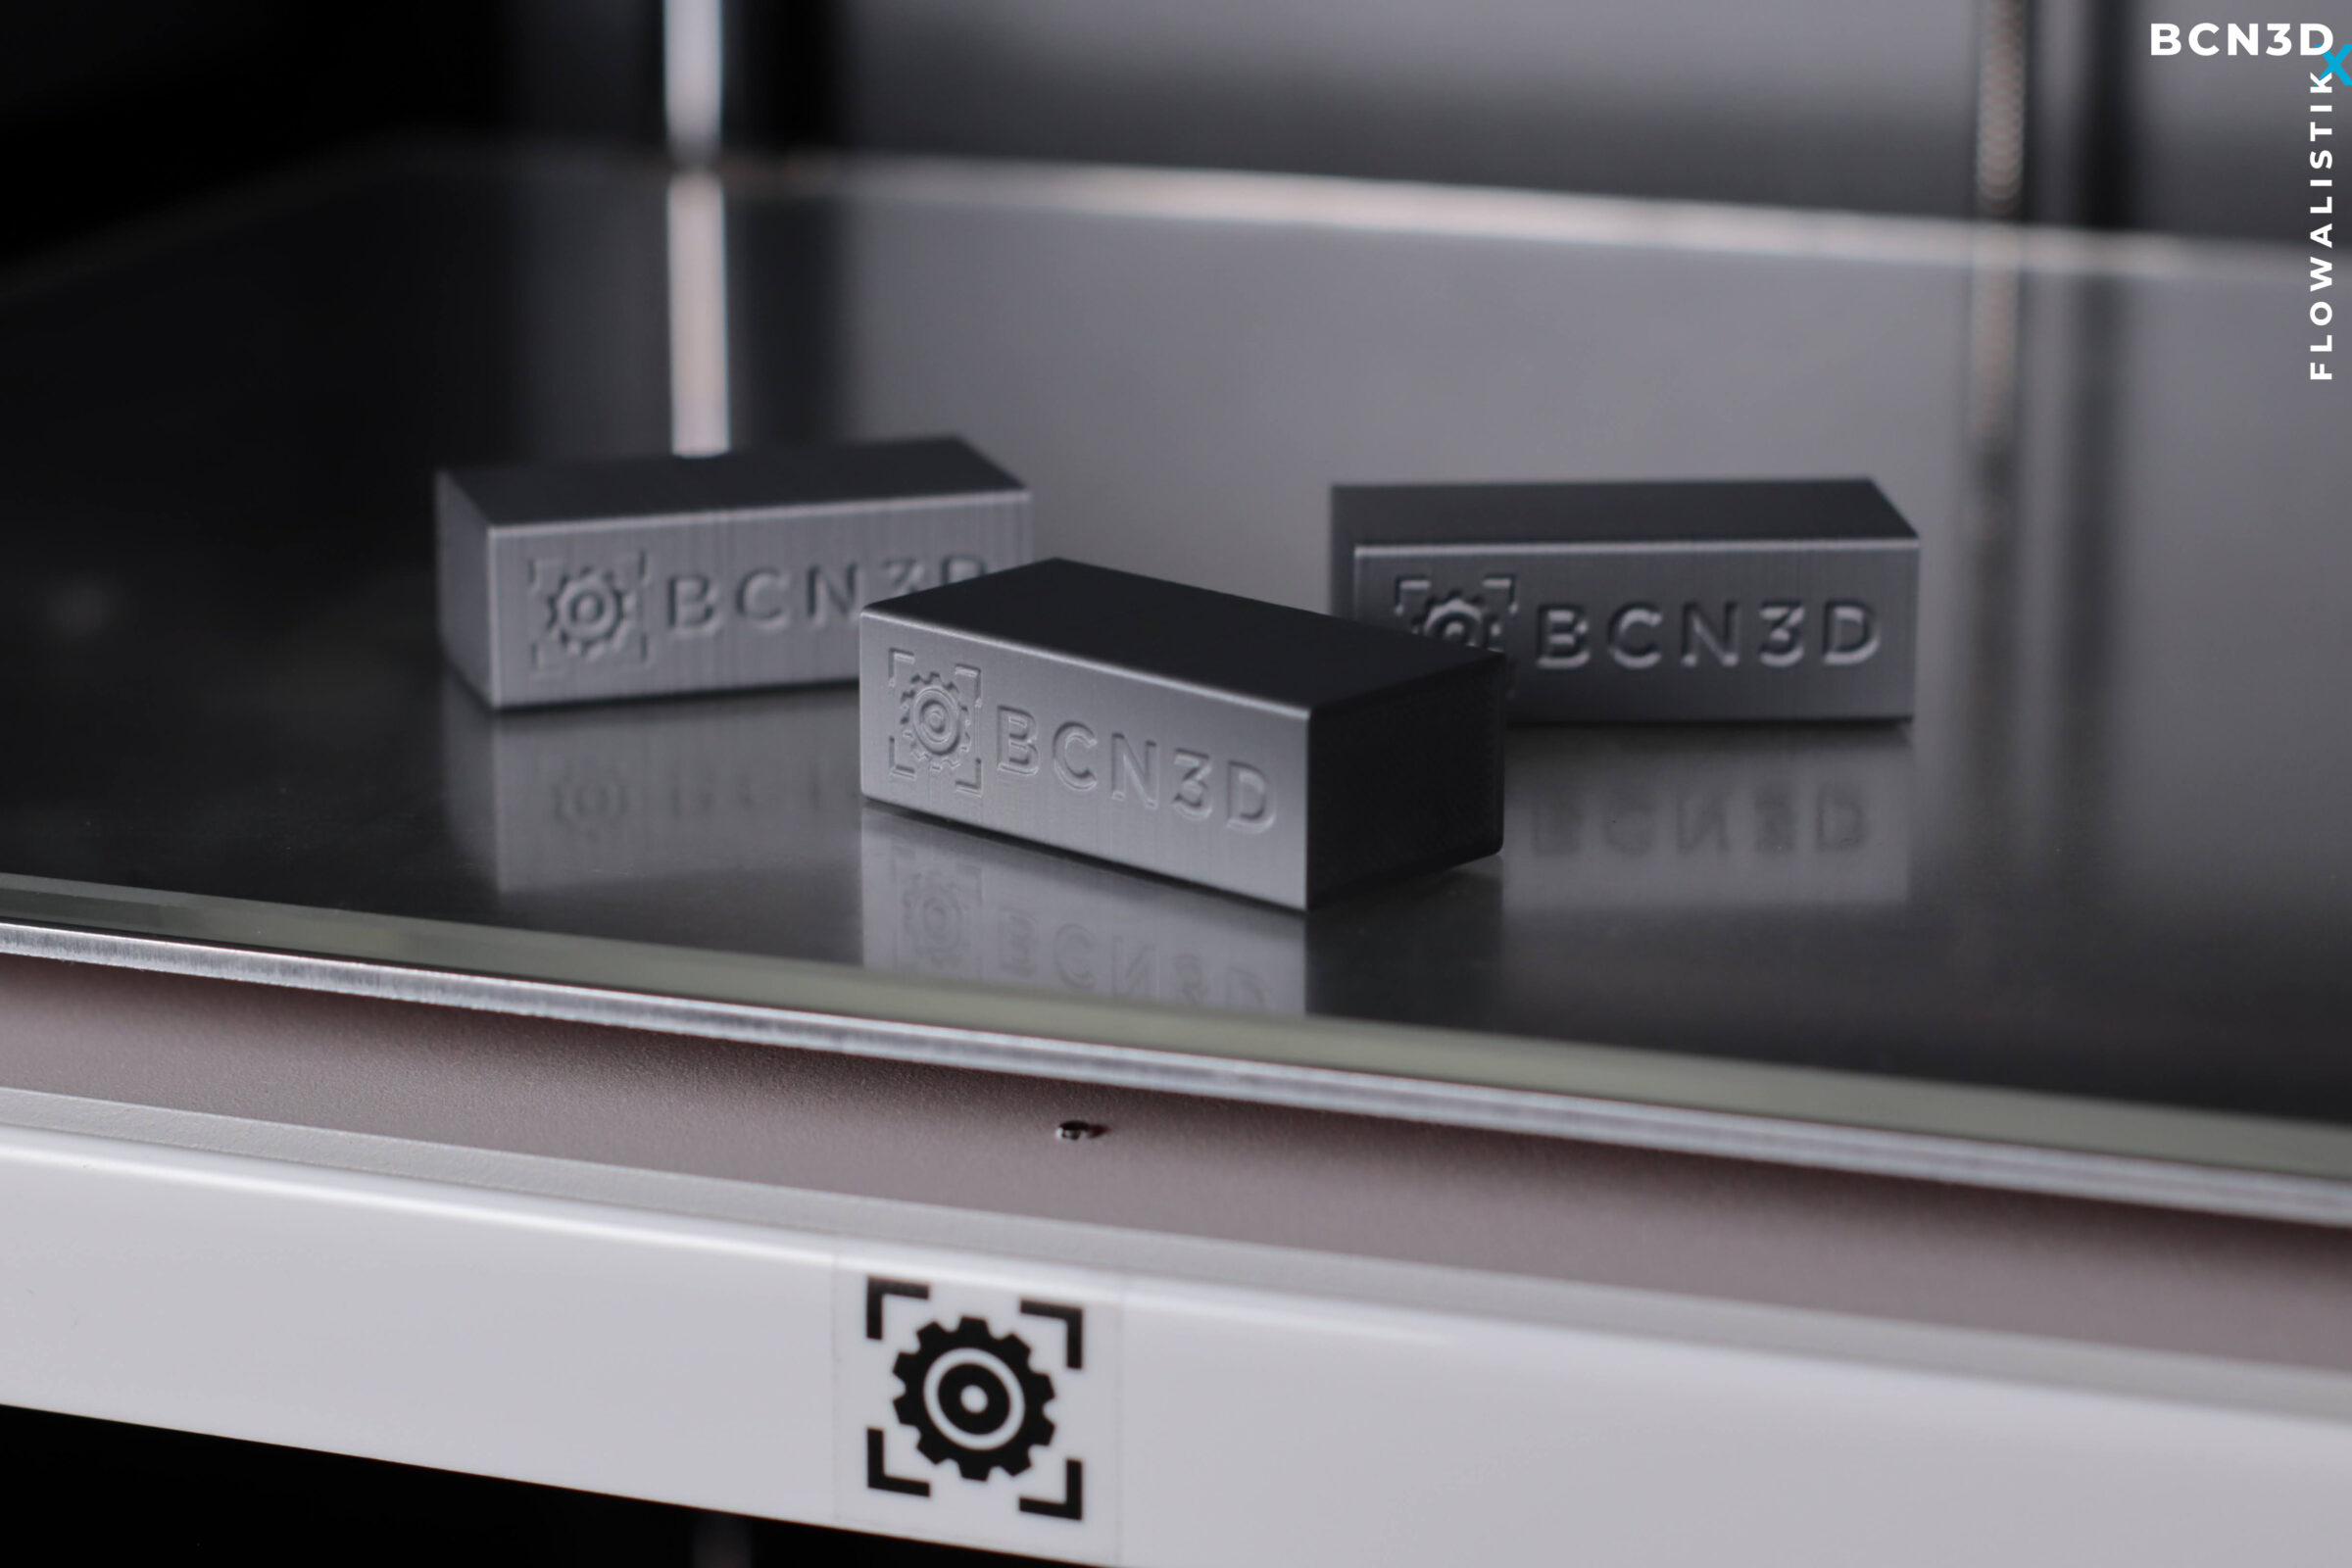
How layer height affects the surface finish
Surface finish
The lower the layer height is, the smoother the surface will be. Use 0.1mm layers if you want to print a model where layers are almost invisible, and 0.2mm layers (or larger) if you don’t mind having a slightly rough surface.
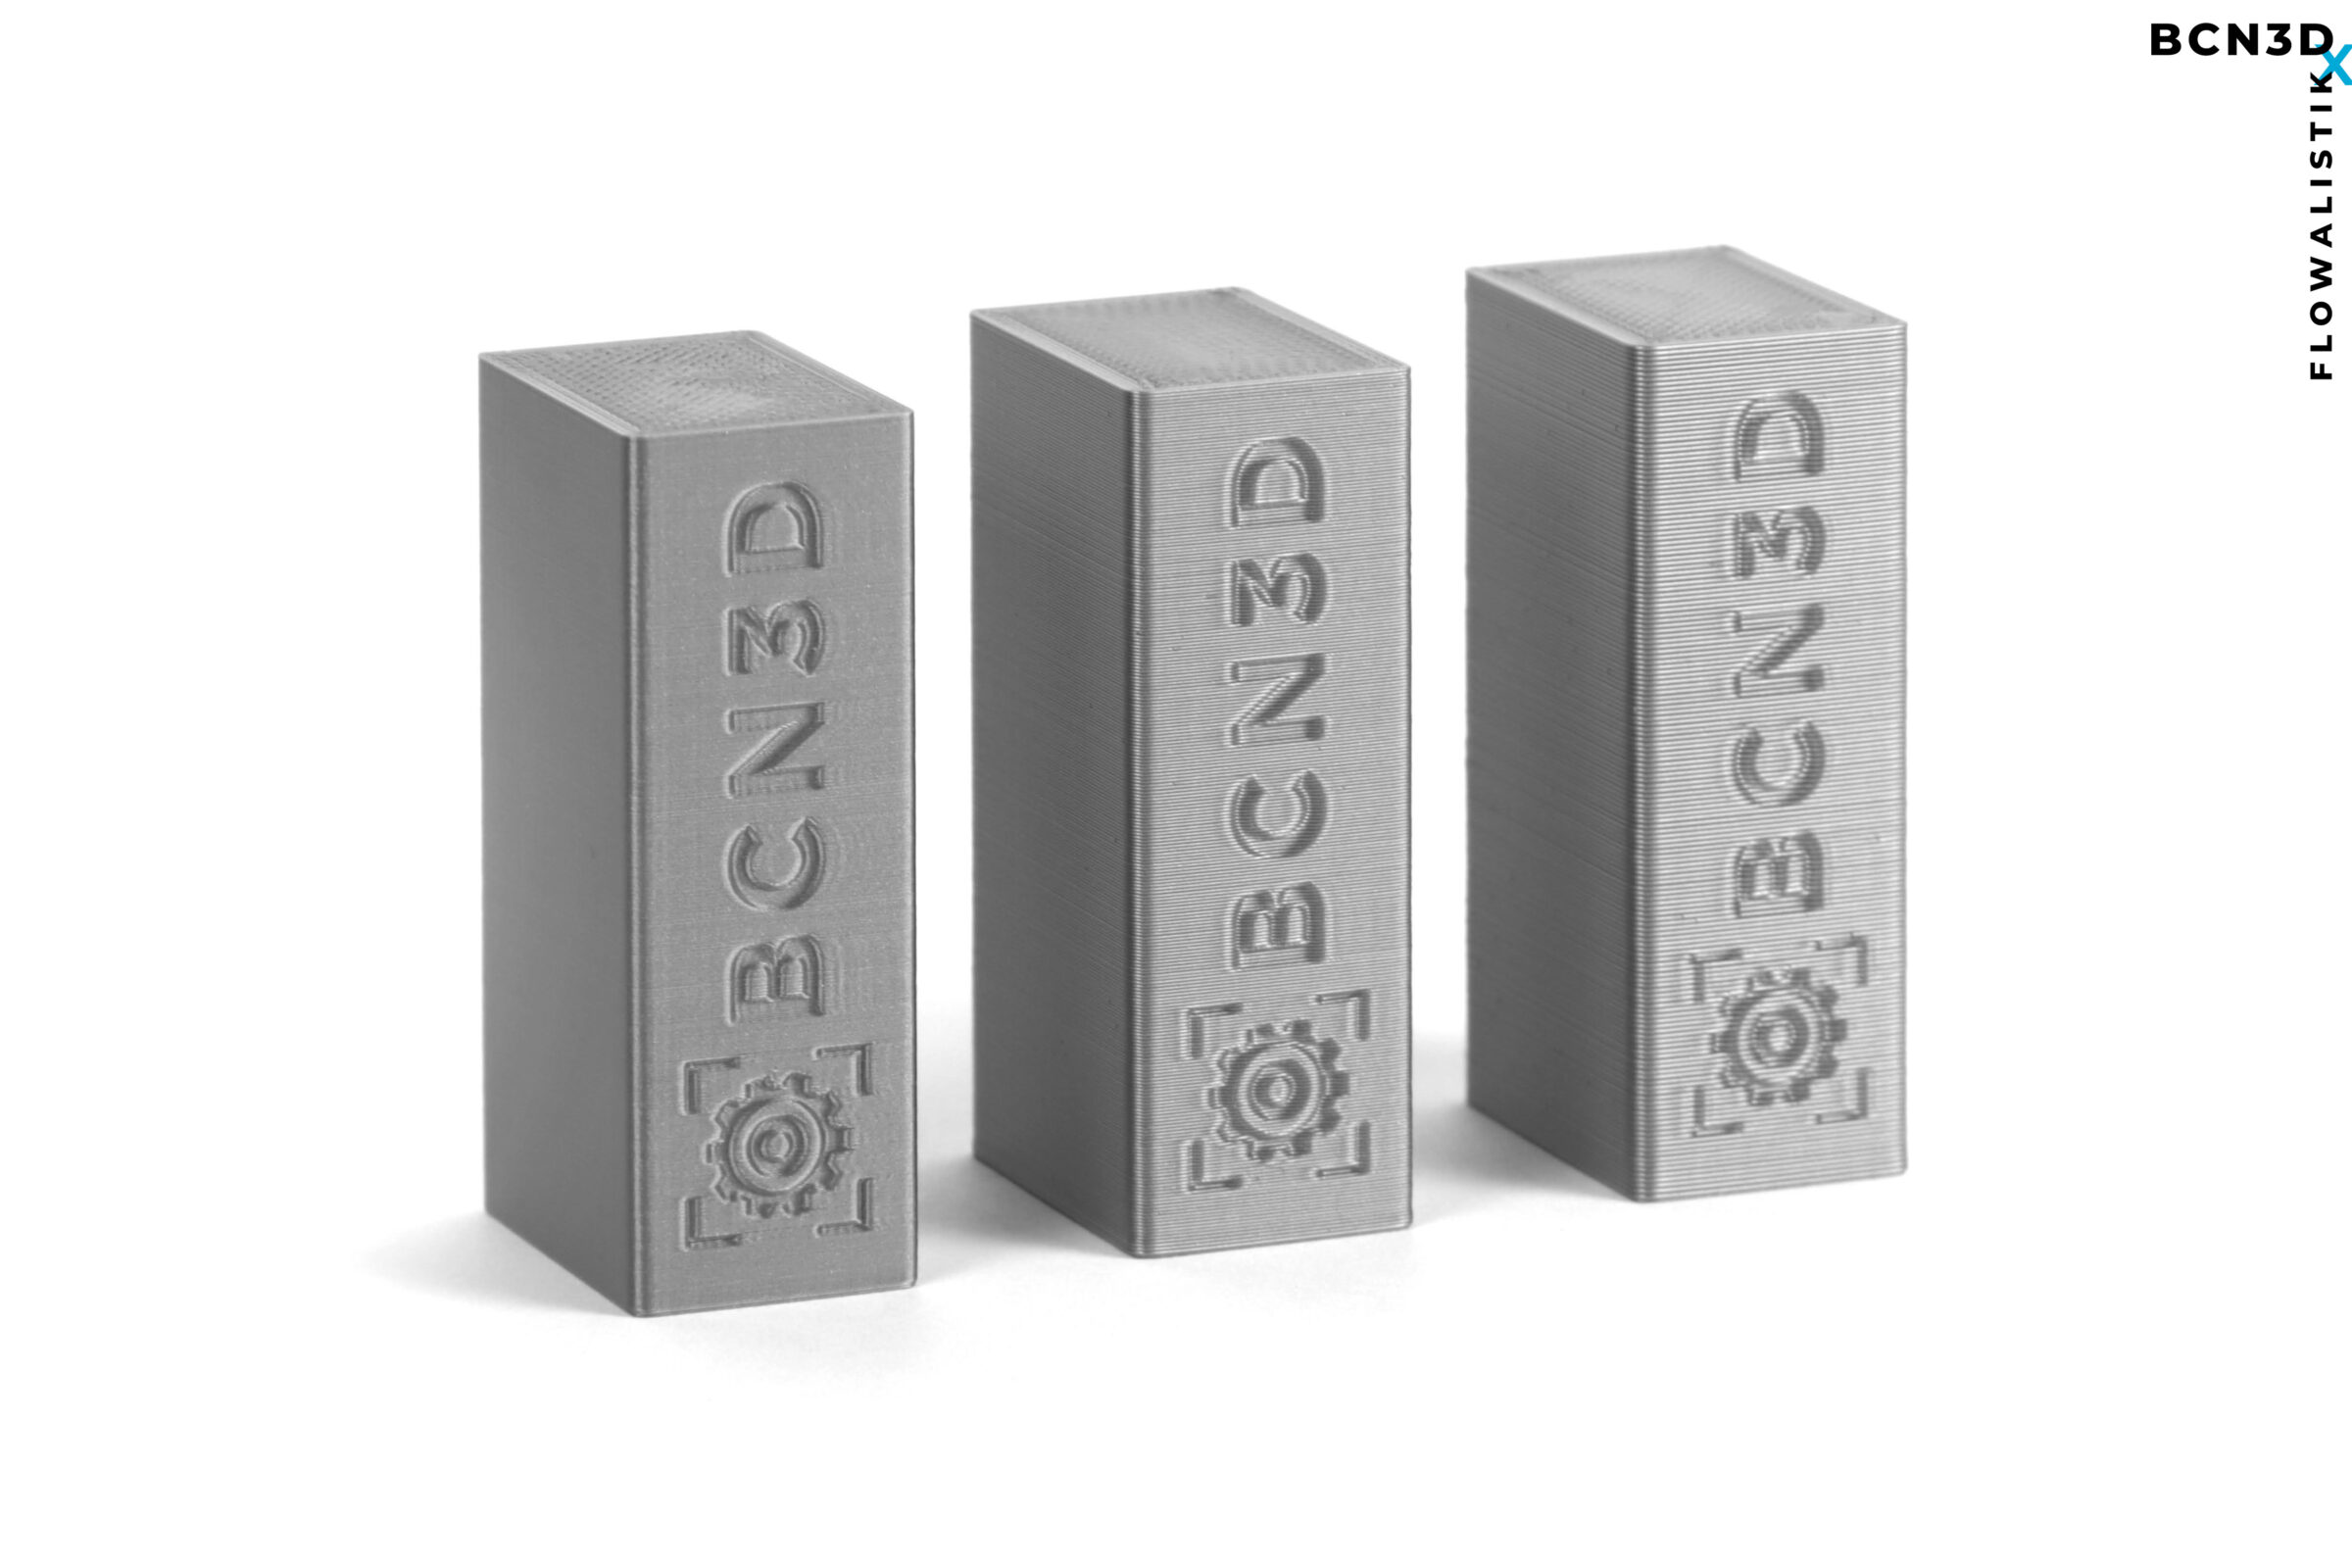
Small details
Use a lower layer height if the 3D model includes little details such as text or textures. Even though other print settings and the 3D model need to be considered to get the best possible quality, layer height is the most important.
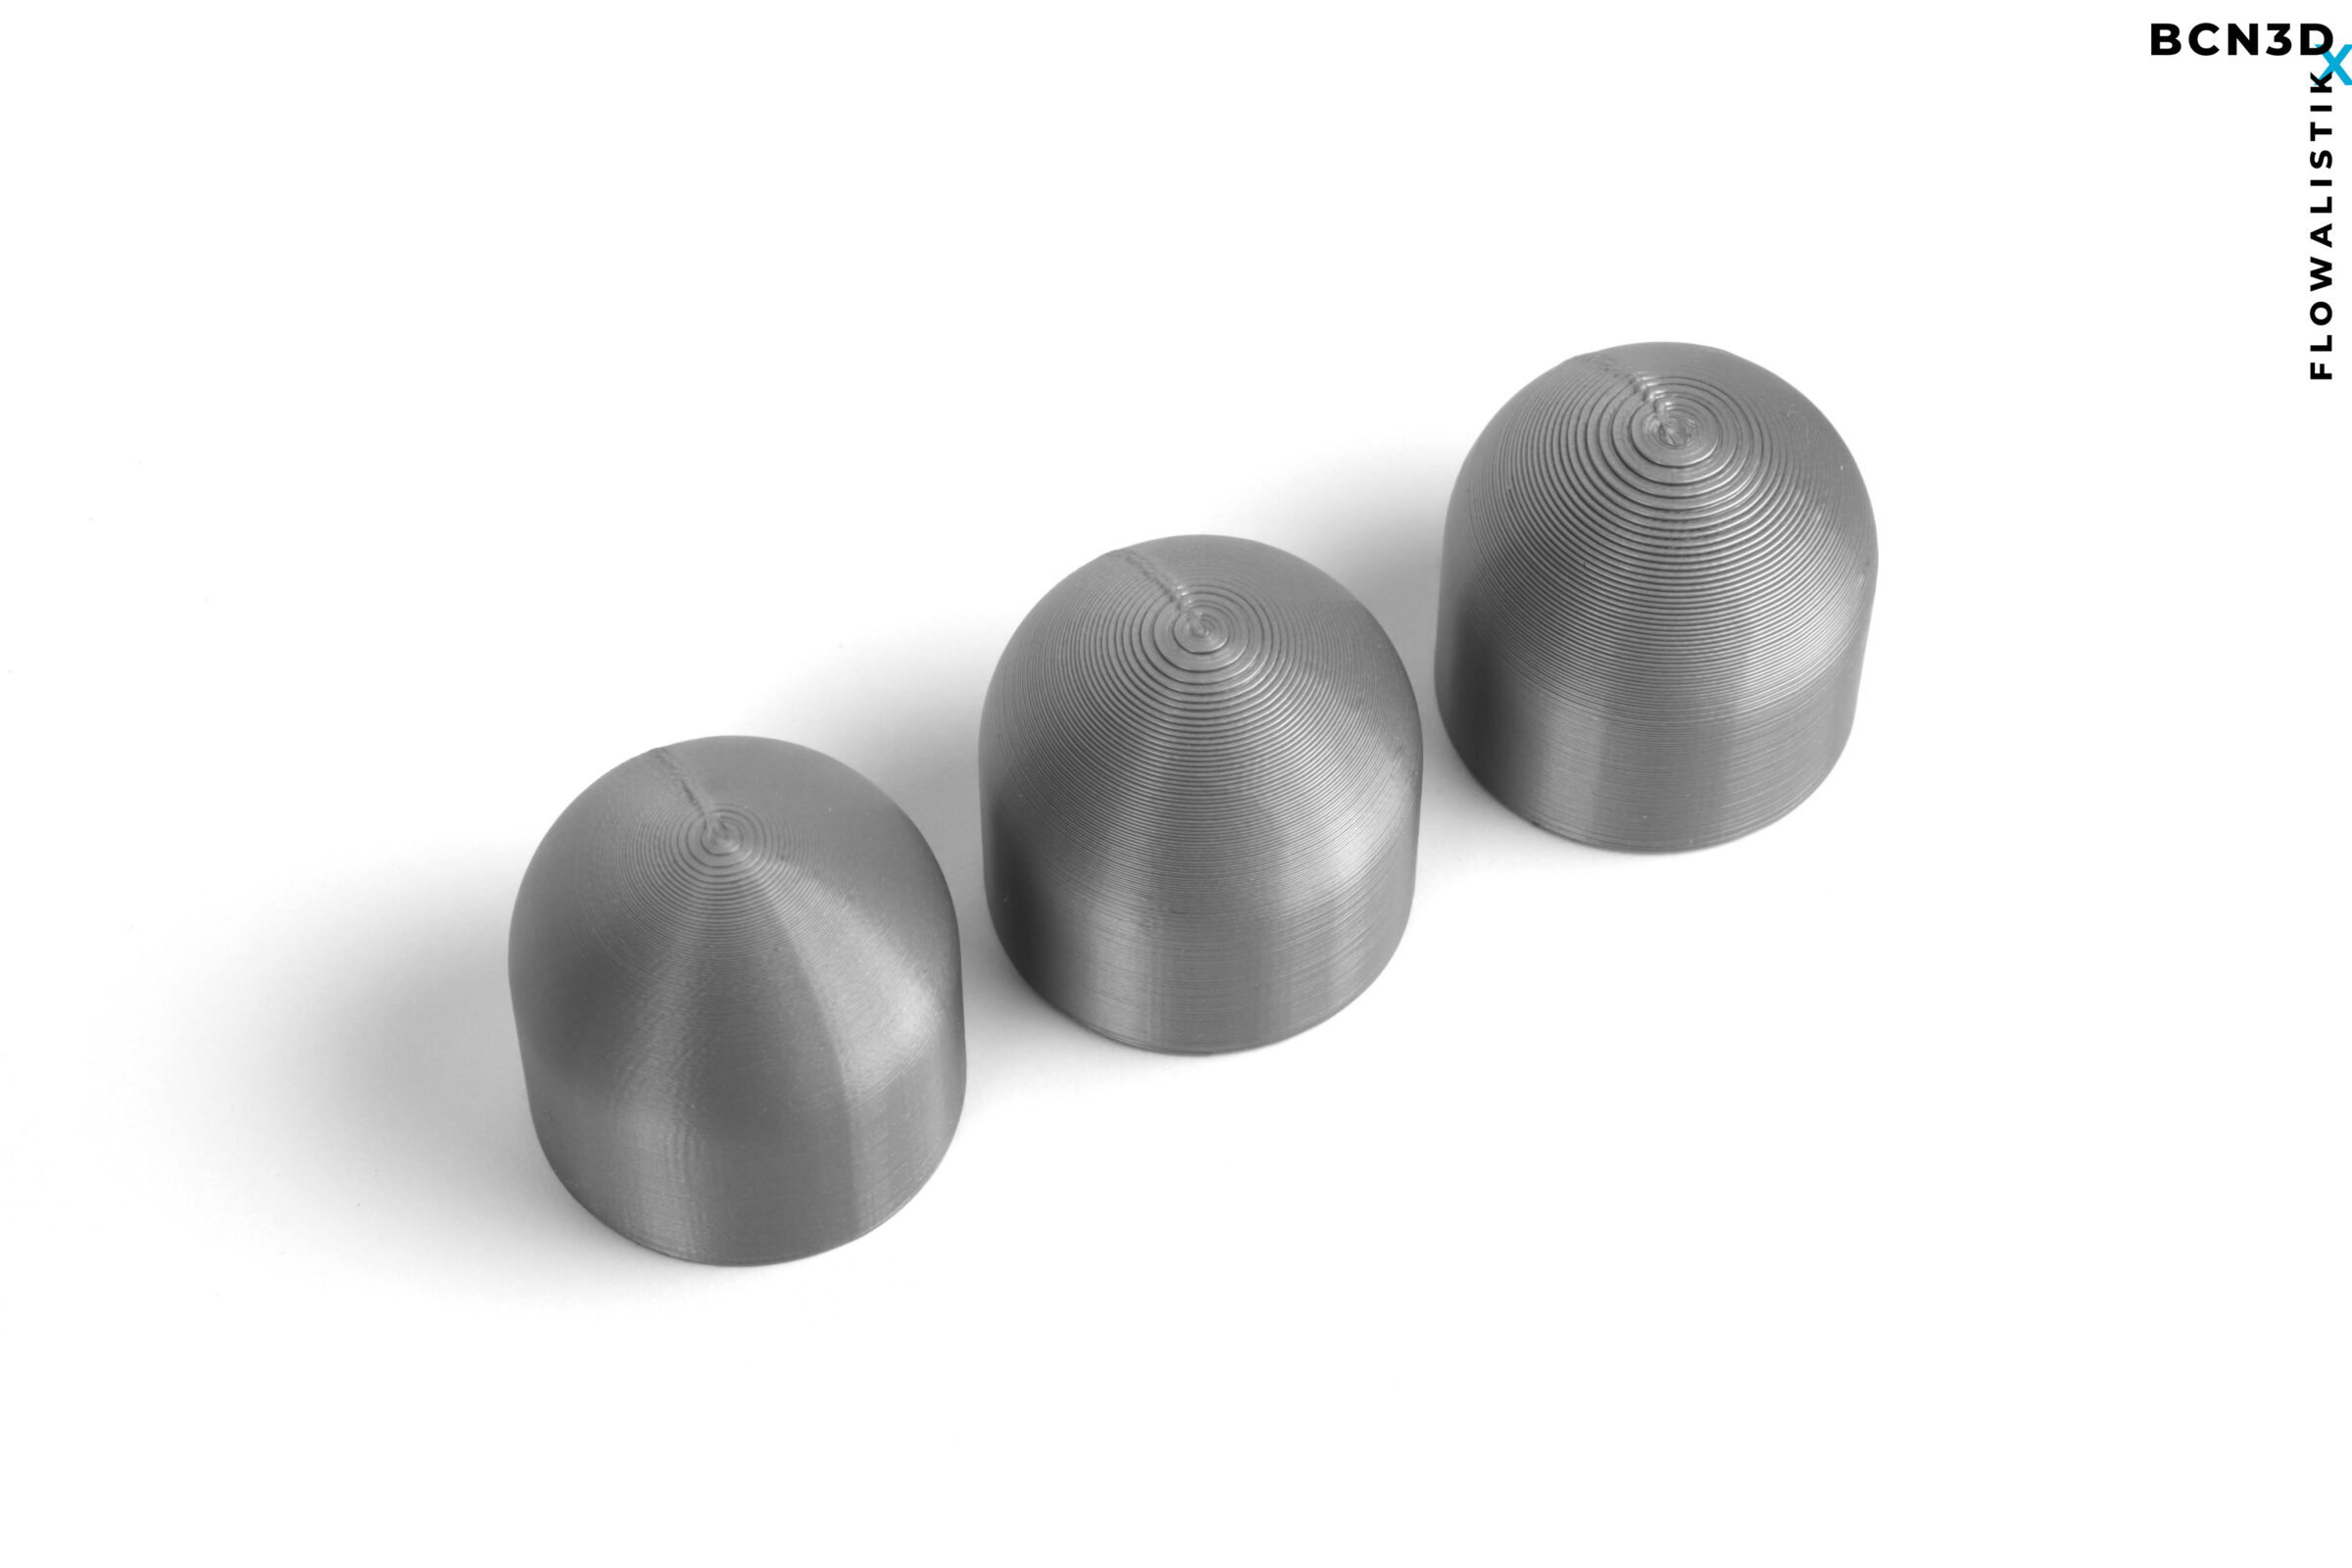
Large vertical curves
Layer height plays a key role when slicing curved models as it can reduce or increase the number of steps you can see on the top of the printed part.
Overhangs
Layer height affects overhang quality as it determines how much the top layer will overlap with the one below. The more the top layer overlaps, the better, and layer height plays a key role in those parts that combine overhangs with intricate details.
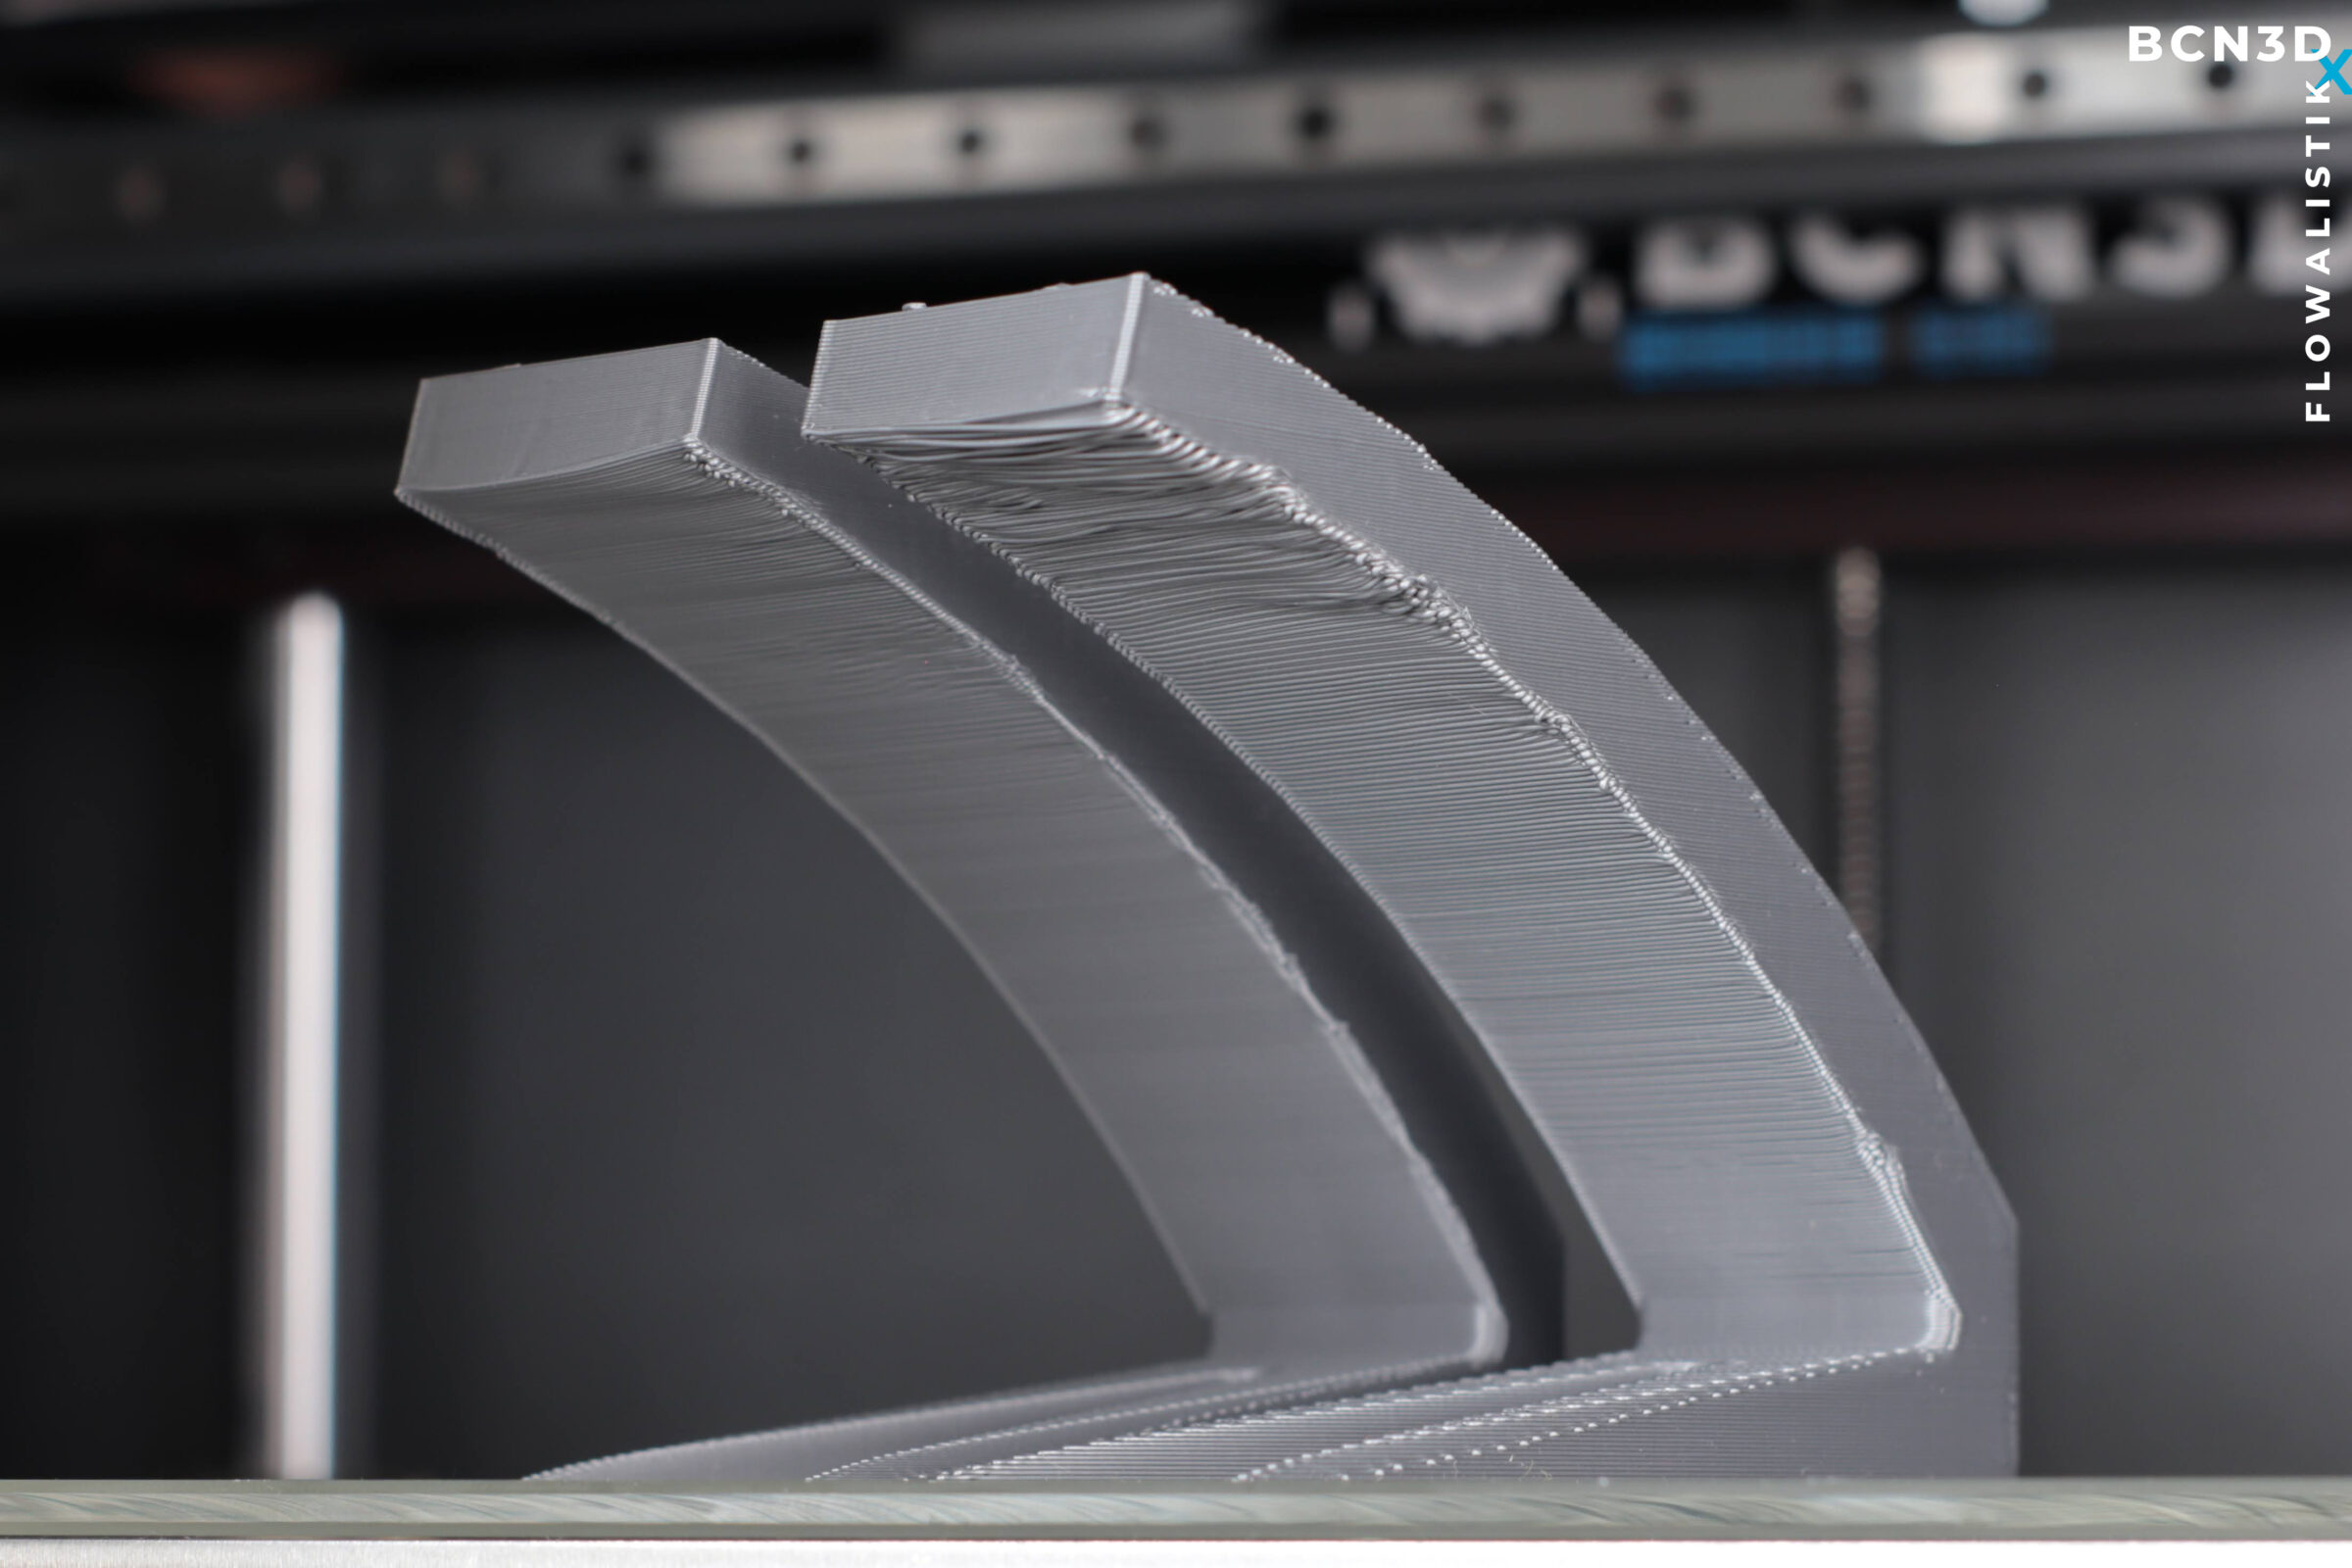
In the image above, you can notice that overhangs print better when the layer height is lower. The test on the left was printed with a 0.2mm layer height, while the one on the right was printed with a 0.3mm layer height. When thinking about overhangs and layer height, it’s important to mention that the surface finish on overhangs depends on how much the top layer overlaps with the one below.

For example, if a 3D model has a wall with a 45º overhang, around 25% of the top layer will overlap with the one below if you use a 0.3mm layer height. However, if you reduce the layer height to 0.1mm, you’ll notice that the overlap % increases to 75%. The more the top layer overlaps, the better.
Post-processing
If you’re going to sand, prime, or paint the 3D printed parts, you may want to consider using a lower layer height to save you time and improve the surface finish.
● Sanding: Eliminate your 3D printed models’ layer lines in preparation for painting, silicone molding, or vacuum forming. Consider using thinner layer lines when printing, even if it increases
the print time. In exchange, it will save you a lot of time sanding the part, no matter which tool you use.
● Priming & Painting: If you 3D print your model with a high layer height, you’ll need to apply multiple paint coats to get a smooth surface. In these cases, using a low layer height will save you time as you won’t need to repeat the prime – dry – paint – dry process over and over again.
Layer height and mechanical properties
The size of the hotend has direct effects, not only on the printing speed but also on the strength of the 3D printed part. That’s why choosing the right hotend size for each application is essential to manufacture high-quality parts within the shortest possible time.
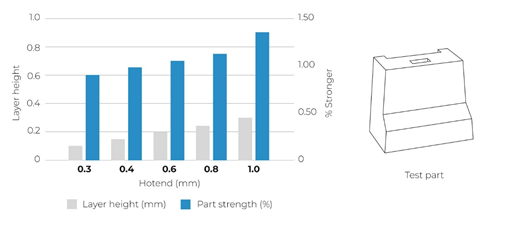
As you can see in the graph above, the combination of larger hotends allows thicker layers, which leads to stronger prints when using similar print settings.

Slicing considerations
Different hotends are available for the Epsilon and Sigma product families. Each hotend has a different nozzle diameter, from 0.4mm up to 1mm.
The layer height can usually be up to 80% of the nozzle diameter to guarantee dimensional accuracy in the printed parts. This means that the layer height shouldn’t be larger than 0.32mm when using a 0.4mm nozzle (standard). With a 0.6mm nozzle, the maximum layer height is increased to 0.48mm.
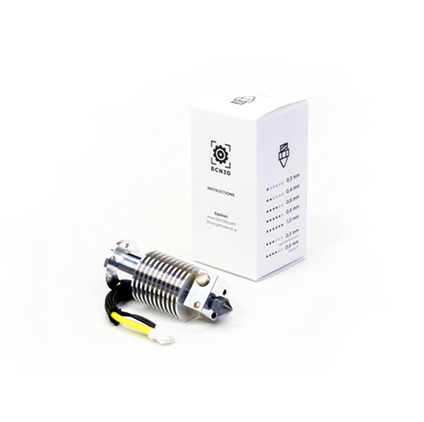
The layer height can usually be up to 80% of the nozzle diameter to guarantee dimensional accuracy in the printed parts. This means that the layer height shouldn’t be larger than 0.32mm when using a 0.4mm nozzle (standard). With a 0.6mm nozzle, the maximum layer height is increased to 0.48mm.
Dream 3D is proud to be offering the latest IDEX systems from BCN3D including the Epsilon range and the Sigma D25- BCN3D Printers – Dream 3D
We also sell the full range of BCN3D parts, accessories and filaments: Accessories, Upgrades & Spare Parts – Dream 3D
If you have an queries regarding this article or if you would like to request a bespoke quote, please contact us at info@dream3d.co.uk / 07789266163
Thanks for reading 🙂

Specialist retailer of 3D Printers, 3D Scanners and 3D Software since 2013
My Account
- Sign In
- Create New Account
- Delivery/Order Queries
- Vouchers
- Returns/Refund Policy
- Payment Methods
We accept

Categories
CUSTOMER REVIEWS
© Copyright - Dream 3D Ltd | Cookie Policy | Privacy Policy | Price Match Promise | Refunds/Returns/Cancellations Policy

