- Shop All
- BRANDS
- 3D Printing
3D Printing Materials
All 3D Printing Parts/Accessories
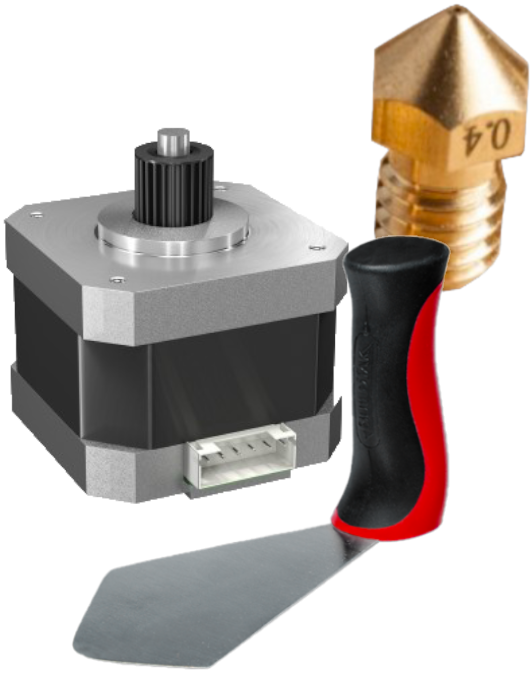
- 3D Scanning
All 3D Scanners
3D Scanner By Type
3D Scanner Parts/Accessories
- SOFTWARE
- Other Tech
3D FORMERS
WELDING
Introduction to 3D Printing

[av_section min_height=” min_height_px=’500px’ padding=’default’ shadow=’no-shadow’ bottom_border=’no-border-styling’ id=” color=’main_color’ custom_bg=” src=’https://www.dream3d.co.uk/wp-content/uploads/2015/01/Showroom-Working-03.jpg’ attachment=’10363′ attachment_size=’full’ attach=’parallax’ position=’center center’ repeat=’stretch’ video=” video_ratio=’16:9′ overlay_enable=’aviaTBoverlay_enable’ overlay_opacity=’0.9′ overlay_color=’#ffffff’ overlay_pattern=” overlay_custom_pattern=”]
[av_heading heading=’Introduction to 3D Printing’ tag=’h3′ style=’blockquote modern-quote’ size=” subheading_active=’subheading_below’ subheading_size=’15’ padding=’10’ color=” custom_font=”]
Find out about 3D printing
[/av_heading]
[/av_section]
[av_section color=’main_color’ custom_bg=’#fcfcfc’ src=” attachment=” attach=’scroll’ position=’top left’ repeat=’no-repeat’ video=” video_ratio=’16:9′ min_height=” padding=’default’ shadow=’no-shadow’ id=”]
[av_one_full first]
[av_textblock]
Learn the basics of 3D printing with this introduction to 3D printing which shows you how to get from an idea to a physically 3D printed object.
[/av_textblock]
[/av_one_full]
[/av_section]
[av_one_half first]
[av_textblock]
ABOUT 3D PRINTERS
[/av_textblock]
[av_hr class=’short’ height=’50’ shadow=’no-shadow’ position=’right’]
[av_textblock]
3D printers create three dimensional physical objects from digital design files.
While traditional manufacturing might involve carving away unwanted material to create a finished object or maybe pouring molten material into a mould and letting it set into the right shape, 3D printing builds an object from the ground up. It’s a form of additive manufacturing where objects are made by adding material, bit by bit and layer by layer until the ‘print’ is completed.
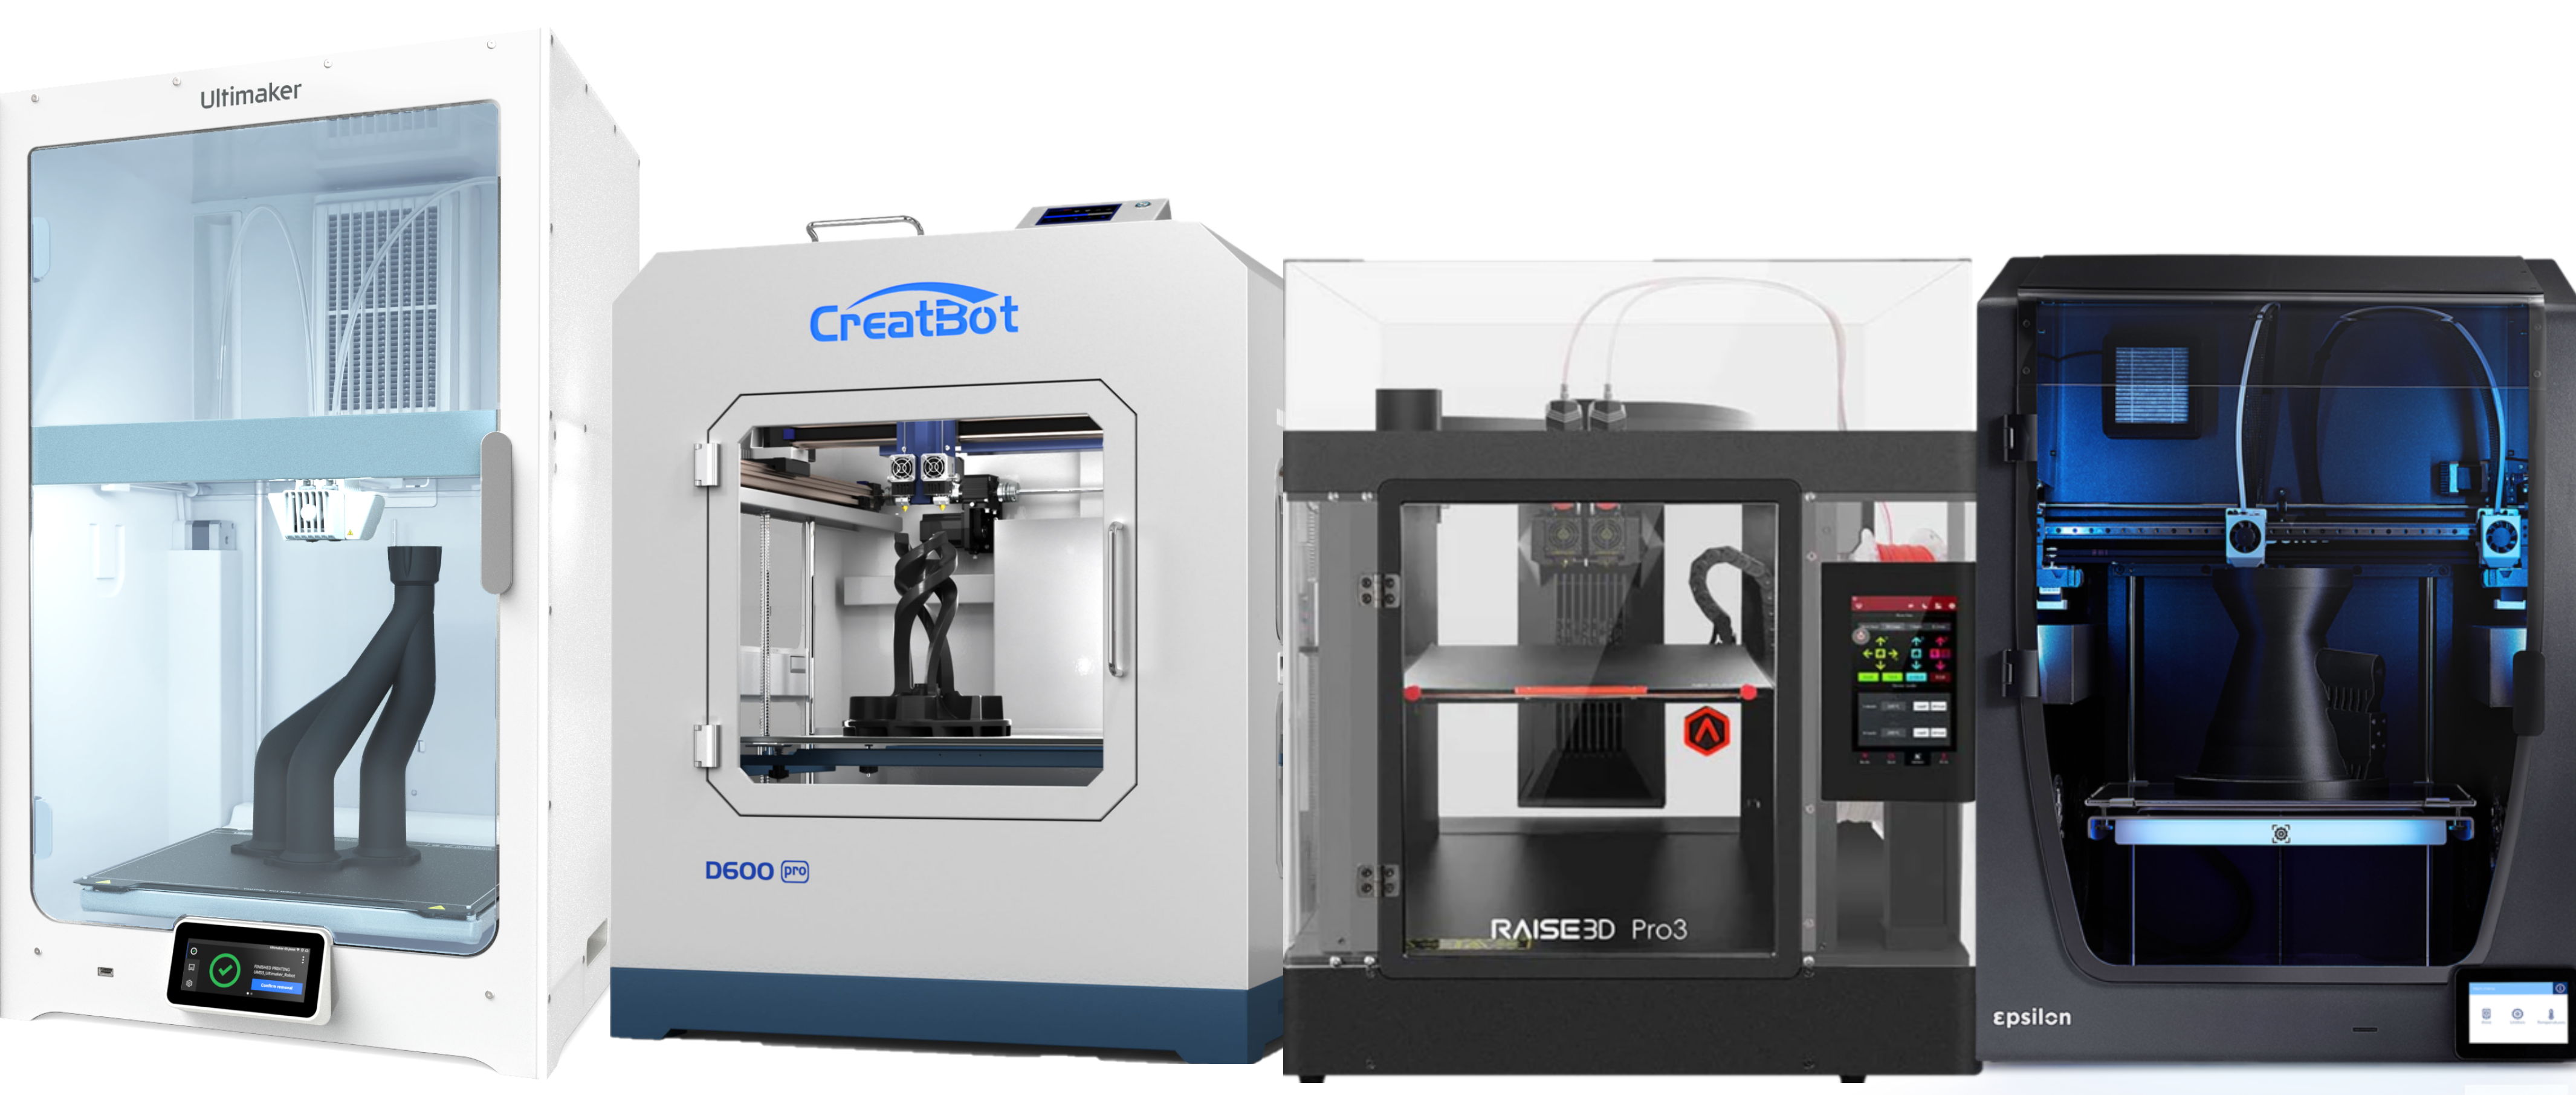
The different methods generally referred to as 3D printing are fused deposition modelling (FDM), stereolithography (SLA) and selective laser sintering (SLS). There are other methods, however generally when referring to 3D printing you will be talking about a machine that employs one of those three methods. Consumer desktop printers, such as the Ultimaker 3D printers, generally use FDM, which is where filament (including PLA or ABS) is pushed through an extruder head to make objects layer by layer.
[/av_textblock]
[av_hr class=’short’ height=’50’ shadow=’no-shadow’ position=’right’]
[av_button label=’View Our 3D Printers’ link=’page,16′ link_target=” color=’theme-color-subtle’ custom_bg=’#444444′ custom_font=’#ffffff’ size=’small’ position=’right’ icon_select=’yes’ icon=’ue827′ font=’entypo-fontello’]
[/av_one_half]
[av_one_half]
[av_image_hotspot src=’https://www.dream3d.co.uk/wp-content/uploads/2013/11/Ultimaker-2-Front.jpg’ attachment=’1942′ attachment_size=’full’ animation=’no-animation’ hotspot_layout=’numbered’ hotspot_mobile=’aviaTBhotspot_mobile’]
[av_image_spot tooltip_pos=’av-tt-pos-above av-tt-align-left’ tooltip_width=’av-tt-default-width’ tooltip_style=’main_color’ hotspot_color=” custom_bg=” custom_font=” custom_pulse=” hotspot_pos=’8.8,50′]
Filament
The filament passes through this tube to the extruder head
[/av_image_spot]
[av_image_spot tooltip_pos=’av-tt-pos-above av-tt-align-left’ tooltip_width=’av-tt-default-width’ tooltip_style=’main_color’ hotspot_color=” custom_bg=” custom_font=” custom_pulse=” hotspot_pos=’27.5,44.4′]
Axles
These metal bars let the various moving parts of the printer move, along the X, Y and Z axes. Usually the extruder head will move in two directions (X and Y axes) and the print bed will move up and down on the Z axes.
[/av_image_spot]
[av_image_spot tooltip_pos=’av-tt-pos-above av-tt-align-left’ tooltip_width=’av-tt-default-width’ tooltip_style=’main_color’ hotspot_color=” custom_bg=” custom_font=” custom_pulse=” hotspot_pos=’40.7,51.9′]
Extruder Head
This is where the filament is melted and then pushed out (or extruded) onto the print bed. The part of the extruder head where the plastic comes out is known as the hot end because it gets very hot. A temperature gauge will make sure that the printer is operating at the right temperature.
[/av_image_spot]
[av_image_spot tooltip_pos=’av-tt-pos-above av-tt-align-left’ tooltip_width=’av-tt-default-width’ tooltip_style=’main_color’ hotspot_color=” custom_bg=” custom_font=” custom_pulse=” hotspot_pos=’63.1,44.4′]
Print Bed
This is where objects are printed, they can be heated (like the Ultimaker 2). The print bed should be calibrated every so often to ensure that it’s perfectly level.
[/av_image_spot]
[av_image_spot tooltip_pos=’av-tt-pos-above av-tt-align-left’ tooltip_width=’av-tt-default-width’ tooltip_style=’main_color’ hotspot_color=” custom_bg=” custom_font=” custom_pulse=” hotspot_pos=’91.3,33.1′]
SD Card Reader
You can save your design as a G-code onto an SD card using the 3D printing software, then you can print directly from the SD card.
[/av_image_spot]
[av_image_spot tooltip_pos=’av-tt-pos-above av-tt-align-left’ tooltip_width=’av-tt-default-width’ tooltip_style=’main_color’ hotspot_color=” custom_bg=” custom_font=” custom_pulse=” hotspot_pos=’91.3,42.5′]
Display
Not all 3D printers have this but the ones that do will be able to display information about the printer, like its temperature, or how long it will take to complete.
[/av_image_spot]
[av_image_spot tooltip_pos=’av-tt-pos-above av-tt-align-left’ tooltip_width=’av-tt-default-width’ tooltip_style=’main_color’ hotspot_color=” custom_bg=” custom_font=” custom_pulse=” hotspot_pos=’93.1,51.9′]
Control Dial
You can use this control dial to scroll through menus, change settings or print from an SD card, for example.
[/av_image_spot]
[/av_image_hotspot]
[/av_one_half]
[av_section color=’main_color’ custom_bg=’#fcfcfc’ src=” attachment=” attach=’scroll’ position=’top left’ repeat=’no-repeat’ video=” video_ratio=’16:9′ min_height=” padding=’default’ shadow=’no-shadow’ id=”]
[av_textblock]
HOW TO CREATE A 3D DESIGN
[/av_textblock]
[av_one_third first]
[av_icon_box icon=’ue836′ font=’entypo-fontello’ position=’left’ title=’Design’ link=’page,2889′ linktarget=” linkelement=”]
You can use design software, such as SketchUp or AutoCAD, or online software like Leopoly to create your 3D design
[/av_icon_box]
[/av_one_third][av_one_third]
[av_icon_box icon=’ue8b1′ font=’entypo-fontello’ position=’left’ title=’Download’ link=’page,2357′ linktarget=” linkelement=”]
You can download completed 3D printable designs from online platforms, such as Thingiverse or YouMagine
[/av_icon_box]
[/av_one_third][av_one_third]
[av_icon_box icon=’ue86c’ font=’entypo-fontello’ position=’left’ title=’Scan’ link=’page,3370′ linktarget=” linkelement=”]
You can use 3D scanners to scan physical objects and turn it into digital 3D designs.
[/av_icon_box]
[/av_one_third]
[/av_section]
[av_one_full first]
[av_textblock]
CHOOSING THE MATERIAL
[/av_textblock]
[av_hr class=’short’ height=’50’ shadow=’no-shadow’ position=’center’]
[av_textblock]
Typical desktop 3D printers can usually print in either PLA or ABS filament. PLA is more commonly used as it comes in a wider range of colours and does not require any ventilation in the room. Whereas ABS produces a strong smell that can be toxic so you need to be in a well ventilated room, ABS is however better at withstanding high impacts and can be used in wet locations. Click here to find out all the differences between PLA and ABS filament.
[/av_textblock]
[av_partner columns=’5′ heading=” size=’medium’ border=’av-border-deactivate’ type=’slider’ animation=’slide’ navigation=’no’ autoplay=’true’ interval=’4′]
[av_partner_logo id=’2416′ attachment=” hover=” link=’page,18′ linktitle=” link_target=”]
[av_partner_logo id=’2657′ attachment=” hover=” link=’product,2654′ linktitle=” link_target=”]
[av_partner_logo id=’2674′ attachment=” hover=” link=’product,2650′ linktitle=” link_target=”]
[av_partner_logo id=’2282′ attachment=” hover=” link=’product,2228′ linktitle=” link_target=”]
[av_partner_logo id=’2283′ attachment=” hover=” link=’product,2272′ linktitle=” link_target=”]
[av_partner_logo id=’2279′ attachment=” hover=” link=’product,2230′ linktitle=” link_target=”]
[av_partner_logo id=’2281′ attachment=” hover=” link=’product,2236′ linktitle=” link_target=”]
[av_partner_logo id=’2280′ attachment=” hover=” link=’product,2232′ linktitle=” link_target=”]
[av_partner_logo id=’2287′ attachment=” hover=” link=’product,2222′ linktitle=” link_target=”]
[av_partner_logo id=’2225′ attachment=” hover=” link=’product,2224′ linktitle=” link_target=”]
[av_partner_logo id=’2227′ attachment=” hover=” link=’product,2226′ linktitle=” link_target=”]
[av_partner_logo id=’2239′ attachment=” hover=” link=’product,2238′ linktitle=” link_target=”]
[av_partner_logo id=’2243′ attachment=” hover=” link=’product,2242′ linktitle=” link_target=”]
[av_partner_logo id=’2285′ attachment=” hover=” link=’product,2240′ linktitle=” link_target=”]
[av_partner_logo id=’2278′ attachment=” hover=” link=’product,2244′ linktitle=” link_target=”]
[/av_partner]
[av_hr class=’short’ height=’50’ shadow=’no-shadow’ position=’center’]
[av_button label=’View our Filaments’ link=’page,3740′ link_target=” color=’theme-color-subtle’ custom_bg=’#444444′ custom_font=’#ffffff’ size=’small’ position=’center’ icon_select=’yes’ icon=’ue8ce’ font=’entypo-fontello’]
[/av_one_full]
[av_section color=’main_color’ custom_bg=’#fcfcfc’ src=” attachment=” attach=’scroll’ position=’top left’ repeat=’no-repeat’ video=” video_ratio=’16:9′ min_height=” padding=’default’ shadow=’no-shadow’ id=”]
[av_one_half first]
[av_gallery ids=’1990,1708,2474,2343′ style=’big_thumb’ preview_size=’large’ crop_big_preview_thumbnail=’avia-gallery-big-crop-thumb’ thumb_size=’portfolio’ columns=’6′ imagelink=’lightbox’ lazyload=’avia_lazyload’]
[/av_one_half][av_one_half]
[av_textblock]
PREPARING THE PRINT
[/av_textblock]
[av_hr class=’short’ height=’50’ shadow=’no-shadow’ position=’left’]
[av_textblock]
Before your 3D design is ready to be printed, the design needs to be turned into the information that a 3D printer can understand. This is made easy with 3D printing software, such as Cura from Ultimaker. Simply export your 3D design as an STL, OBJ, DAE or AMF file and then import it into the 3D printing software.
Once your design is in the 3D printing software you can specify the quality, fill density, print speed, etc. Then click print and watch your design turn into a physical object in front of your eyes.
[/av_textblock]
[av_hr class=’short’ height=’50’ shadow=’no-shadow’ position=’left’]
[/av_one_half]
[/av_section]
[av_button_big label=’View all our 3D Printers’ description_pos=’below’ link=’product_cat,16′ link_target=” icon_select=’no’ icon=’ue800′ font=’entypo-fontello’ custom_font=’#ffffff’ color=’theme-color’ custom_bg=’#444444′ color_hover=’theme-color-subtle’ custom_bg_hover=’#444444′][/av_button_big]

Specialist retailer of 3D Printers, 3D Scanners and 3D Software since 2013
My Account
- Sign In
- Create New Account
- Delivery/Order Queries
- Vouchers
- Returns/Refund Policy
- Payment Methods
We accept

Categories
CUSTOMER REVIEWS
© Copyright - Dream 3D Ltd | Cookie Policy | Privacy Policy | Price Match Promise | Refunds/Returns/Cancellations Policy

